How to Clean Optical Lenses and Mirrors Safely
Learn how to clean optical lenses and mirrors safely, from dust removal and solvent choice to avoiding scratches on first-surface coatings. Practical steps from our team.
9 min read
Most of the damaged lenses that reach our workshop did not die from a bad drop. They died from someone trying to be thorough. We have seen a dry cloth dragged hard across a dusty surface push grit straight into the coating. That is how a clean-looking lens ends up with permanent haze. Our team has repaired more of these than we care to count. If you remember one thing from this guide, make it this: remove the loose dust first, and touch the surface as little as possible when you clean optical lenses and mirrors safely.
Why Harder Wiping Usually Makes Things Worse
When people clean an optic, they tend to grab a cloth and start scrubbing. It feels responsible, but it is one of the fastest ways to scratch a coated surface. The dust on a lens is mostly tiny silica particles. Those particles are harder than many coatings. Pressing them across the glass works like fine sandpaper.
A few years ago a client sent us a telescope objective that he had cleaned every weekend for two years. From the front, the coating looked fine. Under a focused light, though, it was covered in faint circular swirl marks. Each weekend session had added a few more. He was not careless. He simply believed that more cleaning meant a cleaner lens, and that belief cost him the coating.
The short version of the process is this: blow off the loose dust, make a single gentle pass with the right solvent, and finish with a clean wipe. Everything else in this guide is a detail built on those three steps. Keep that rhythm in mind as you read.
This guide is written for lab technicians, instrument owners, and anyone who keeps a telescope, camera, or other technical optic working properly. You do not need a cleanroom to follow it. A clean, well-lit bench helps a great deal.
Know What You Are Cleaning Before You Touch It
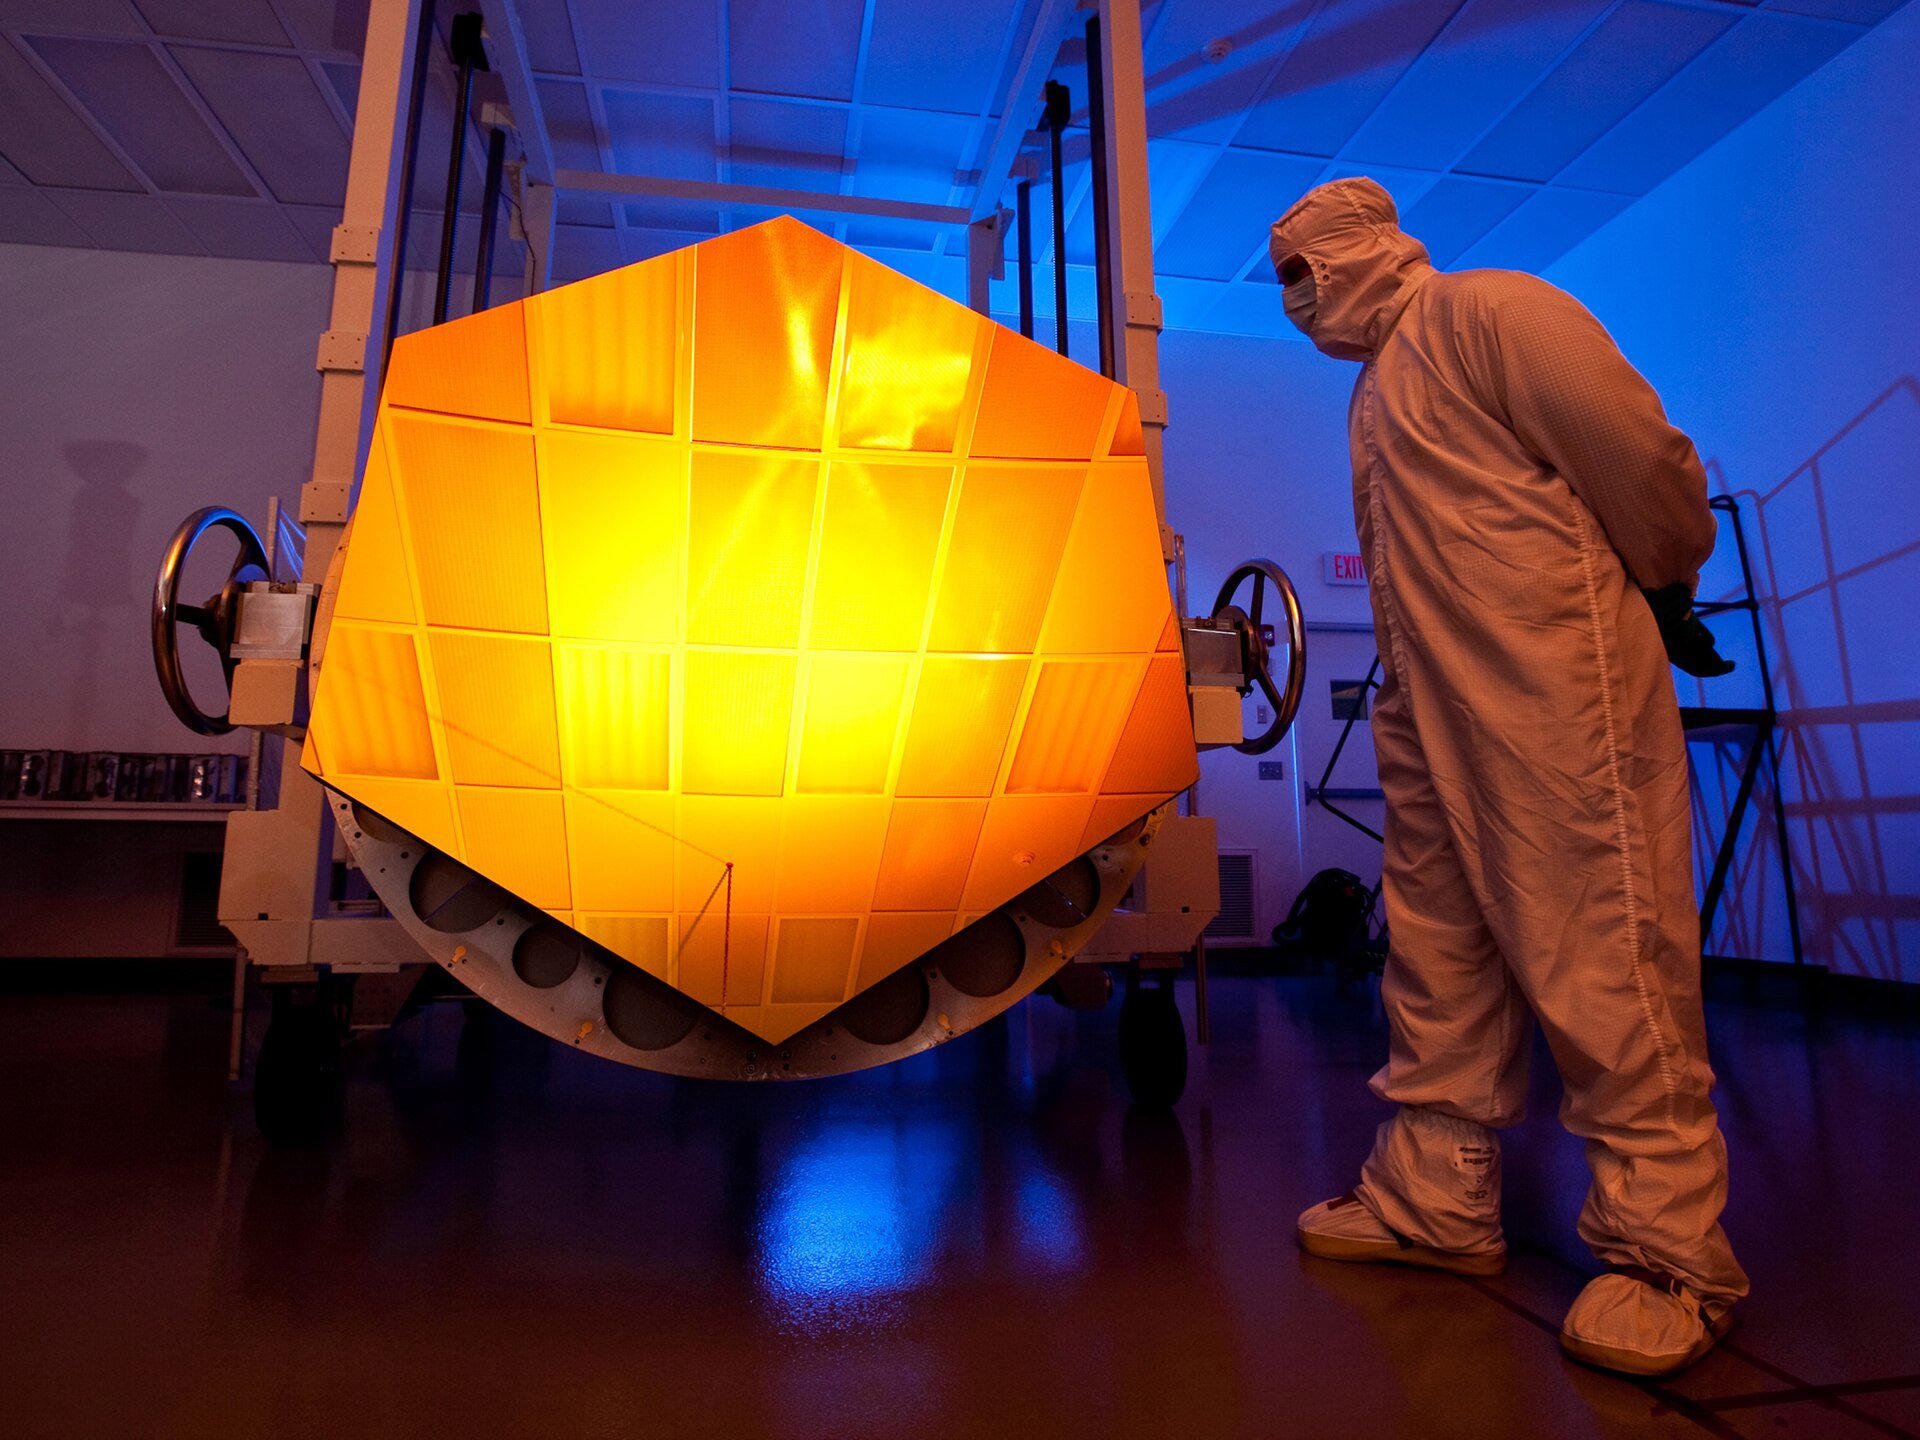
Not every optical surface behaves the same way. Treating them as if they do is where most accidents begin. A plain uncoated glass lens can take more abuse than a multilayer anti-reflection coating. A first-surface mirror is more fragile than either. Its reflective layer sits on the very top, with nothing to protect it.
First-surface aluminum and silver mirrors deserve the most care. The reflective film is thin, and a light scrape can turn a bright mirror into a dull one. Lens elements are usually more forgiving. Their coatings can still be damaged by the wrong chemical, and cemented doublets can separate if soaked too long.
Before any cleaning, examine the part closely. Look for cracks, chips along the edge, cemented joints that have started to lift, and existing scratches. Cleaning a cracked part can make the damage worse. If you see structural problems, stop and have it inspected first.
The Tools Worth Keeping at the Bench
You do not need a large kit, but the items you choose matter. These are the basics our technicians keep within arm’s reach:
- An oil-free bulb blower or filtered compressed air. Never use a spray can held upside down, because the propellant can spray liquid onto the surface.
- Lint-free optical wipes and cotton swabs made for optics. Ordinary tissue and cloth shed fibers that cling to the coating.
- Reagent-grade solvents and deionized or distilled water. Tap water leaves mineral spots that are surprisingly stubborn to remove.
- Nitrile gloves and a clean, dust-free work surface.
A starter kit like this usually runs about 1 to 3 million VND, depending on the solvents and wipes you choose. That is small compared with replacing a coated element. A single ruined mirror can cost many times more than the whole kit.
Dust First: Blowing and Drag-Wiping
Before any liquid touches the surface, loose grit has to leave it. Blow across the optic with a bulb blower, starting at the center and pushing outward toward the edge. Blowing from the edge inward drives particles toward the middle, where they are harder to remove. Hold the blower a few centimeters away and let the airflow do the work.
If a film of dust remains after blowing, use the drag-wipe technique. Lay a clean wipe on the surface and draw it across in one slow pass, never in circles. Circular motion grinds particles into the coating, while a single drag lifts them away. Discard the wipe after that one pass, even if it still looks clean.
Why does the order matter so much? A film of liquid mixed with grit turns into a paste, and that paste spreads scratches across the whole surface. Clear the dust first, and the liquid step has far less damage left to cause.
When a Film Will Not Come Off
Some films, such as fingerprint oils or dried residue, do not respond to dry wiping. In our lab we use a method we informally call drop-and-drag for these cases. Place two or three drops of solvent on the surface. Then pull a lint-free wipe through the drop in one continuous motion. Discard that wipe immediately afterward.
Repeat with a fresh wipe for every pass. This is the step people skip, and it matters a lot. A used wipe carries contamination. Dragging it back across the surface redeposits the film you were trying to lift. Clean wipe, one pass, discard.
Matching the Solvent to the Coating
Methanol and isopropyl alcohol handle most uncoated and anti-reflection coated glass without trouble. They evaporate cleanly and rarely leave a film behind. For everyday jobs, reagent-grade isopropyl alcohol is usually the right choice, and it is the one we reach for first.
Acetone is stronger, and that strength calls for caution. It can dissolve certain optical cements and attack some coatings. Use it only where both the coating and the cement are known to tolerate it. Check the manufacturer’s data sheet before you open the bottle.
Water-based cleaners can leave residue or stain some coatings, so they are a poor general choice for precision optics. If the manufacturer names a dedicated optics cleaner for your part, use that. Following the specified product is almost always the safest route.
What You Must Never Do to a First-Surface Mirror
First-surface mirrors are unforgiving, so the list of prohibitions is short and firm. Do not use abrasive powders, household glass cleaner, or paper towels. Each of these can lift or scratch the reflective layer. The damage often appears only after the part returns to service, when it is far harder to trace back to the cleaning.
Do not press hard, and do not rub in circles. Even a clean wipe can lift the reflective film if the pressure is too high. Never reuse a wipe. Never touch the surface with bare fingers, because skin oils are very difficult to remove completely.
A damaged first-surface coating usually cannot be polished back to its original quality. Once the reflective layer is scratched or lifted, the realistic fix is re-coating. That work can cost tens of millions of VND depending on the mirror’s size. The cheapest repair is the one you never need.
Handling and Storage After Cleaning
A clean optic can pick up dust again within minutes if it sits exposed on a bench. Keep cleaned parts in a sealed container or under a dust cover until they are installed. Handle them by the edges, and keep the optical surface facing down or away from your hands.
Store clean optics away from solvent fumes and humidity swings. Moisture can encourage mold on coatings and gradually loosen cemented elements. A dry, stable shelf is far better than a damp corner of the workshop.
Cleanroom habits pay off for any precision part, not only for industrial labs. For the full handling workflow, including gloves, workstation setup, and transfer procedures, read our guide on cleanroom protocols for handling precision optical components. Many of the same habits carry over to a home bench.
How to Tell Whether the Surface Is Clean Enough
The simplest check is visual. Place the optic under a focused light against a dark background, and tilt it slowly. Dust, smears, and haze show up clearly when light catches them at an angle. Looking straight at a surface often hides the problems you most need to see.
For critical work, visual inspection is not enough. Scatter and surface quality can matter more than anything the eye can see. Our team checks surfaces against the methods covered in our optical metrology resources before any part enters a measurement setup. If you are curious how the bench itself affects results, our write-up on evaluating optical breadboards and honeycomb tables covers the stability side.
Cost and Time in Practice
A routine clean takes only a few minutes for a small lens. A large mirror needs more time, because blowing, drag-wiping, and inspection all stretch across a bigger surface. Plan for that, and do not rush. Rushing is how most scratches happen.
Reference ranges to keep in mind: a starter kit of blower, wipes, reagent alcohol, and gloves runs roughly 1 to 3 million VND. Professional re-coating of a damaged first-surface mirror can range from several million VND for small pieces to tens of millions for large ones. Prices shift with the supplier, the part size, and the coating required, so get a quote before committing.
If you are running a larger project and need help with the digital side, such as a website that presents your technical services to clients, our team also offers dịch vụ thiết kế website chuẩn SEO tại TP.HCM.
Frequently Asked Questions
Can I use tissue paper or a cotton t-shirt on my lens?
No. Tissue paper is abrasive enough to scratch many coatings, and cotton fabric sheds fibers that stick to the surface. Use a lint-free optical wipe instead, and use it only once before discarding it.
How often should I clean a telescope mirror?
Clean only when you can see a real problem. Over-cleaning causes more wear than dust does. For most telescopes, a gentle blow-off every few weeks, plus a careful clean only when haze or residue appears, is enough.
Is isopropyl alcohol safe on all coatings?
It is safe on most common anti-reflection coatings, but not every coating is the same. Check the manufacturer’s guidance first. If it remains unclear, test on a small, unused area before treating the whole surface.
What should I do if I see a scratch after cleaning?
Stop cleaning immediately, because further wiping will usually make the scratch larger. Photograph the damage under a focused light, then contact the manufacturer or a qualified optics service. Whether the part can be repaired depends on the scratch depth and the coating type.