Measuring Meter-Class Optics: Surface Metrology in Practice
Surface metrology for meter class optics demands more than one instrument. Here is how our team combines interferometry, profilometry and stitching on large mirrors.
7 min read
A mirror between one and four meters across often passes its spec on a small test bench, then produces blurred images once it is mounted in the real system. We see this more often than most people would guess. In nearly every case, the root cause sits in how the mirror was measured, not in the glass or the coating itself. That is why surface metrology for meter class optics deserves its own careful plan.
Here is the short version from our side of the bench. No single instrument measures a meter-class mirror across its full area at nanometer resolution. To keep a part like that under control, our team combines several methods. Knowing where each one stops working is just as important as knowing what it does well.
Why a 1 to 4 m mirror is harder than a small one
On a large mirror, a figure error that looks trivial in a small patch gets magnified once you consider the full aperture. A deviation of only a few nanometers, spread over a surface a meter wide, can turn into a wavefront error that the imaging system clearly sees. The math is unforgiving.
We once received a mirror from another shop, already certified and packed for shipping. When the customer installed it, the image came out visibly distorted. We measured it again with our own setup, and the culprit turned out to be low-frequency error running across the whole aperture. The earlier local measurements had missed it entirely. They only sampled small patches, so they never saw the overall shape. That experience changed how we plan every large job.
The foundation: what interferometry measures and where it breaks down
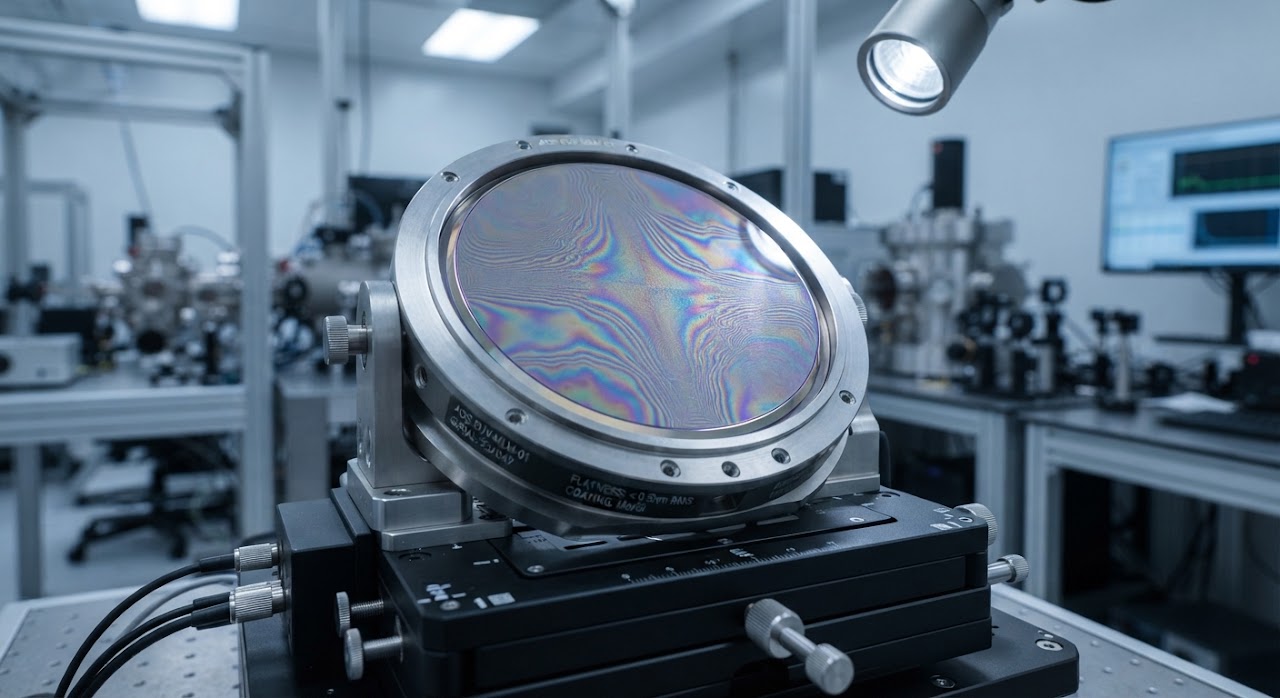
In plain terms, an interferometer compares the mirror surface against a reference surface whose shape is already known. Light reflected from the two surfaces interferes and forms bright and dark fringes. The software reads that fringe pattern and works out how far each point sits above or below the reference.
The most important limit is aperture. The reference has to be at least as large as the mirror under test. For a 1 m part, a matching reference is already expensive equipment. Its own flatness must be controlled very tightly, or you end up measuring the reference instead of the mirror. We have seen teams chase a phantom error for days before realizing the reference was the problem.
Full-aperture interferometry: when it is good enough
This method suits mirrors with a moderate aperture and a medium flatness requirement. If you only need to confirm overall distortion, it is usually the fastest and cheapest route.
The workflow has four steps. You align the mirror with the reference, capture the interference fringes, unwrap the phase into a height map, and then read the error map. Alignment eats the most time. A small misalignment makes the fringes messy, and the data quickly loses its value. The environment matters too. Vibration from the floor and air currents in the room both add noise, so we usually schedule the important runs in the evening, when the building is quiet and the air has settled. For background on how the fringe analysis works, see our piece on phase shifting interferometry fundamentals and error sources.
Swing-arm profilometry for large mirrors
This instrument carries a probe on a rotating arm that sweeps along an arc across the mirror surface. Because it does not need a reference matching the full aperture, the size of the part is hardly a barrier. That flexibility is why we reach for it on the biggest jobs.
Its strength is versatility with large parts, and it can also estimate the radius of curvature. Its weakness is that accuracy depends directly on the mechanics of the arm. If the pivot develops play, the results drift. Periodic calibration is therefore a requirement, not something we leave to chance.
Sub-aperture stitching: joining patches into one global map
The idea is simple to state. You divide the surface into smaller sub-apertures, measure each one at high resolution, and stitch the patches together. Neighboring patches overlap slightly so the algorithm has shared points to anchor on.
The biggest risk is accumulated error. Every stitch carries a small positioning error forward, and those errors add up across the surface. If the overlap regions are too narrow, the algorithm lacks the shared data it needs to remove the error. It then appears as faint ridges on the final map, which can look like real surface features if you are not careful.
How we combine the methods in practice
No serious shop relies on one technique alone. On our larger jobs, swing-arm or full-aperture testing controls the overall shape first. Sub-aperture data then confirms fine detail and surface roughness on top of that. Our team also tracks surface roughness separately, since mid-spatial ripple can scatter light even when the overall figure looks perfect.
Before we issue a certificate, we cross-check the two methods against each other. If the results disagree beyond the allowed tolerance, we track down the cause before anyone signs off. Sometimes that means remeasuring with a different alignment. Sometimes it means finding out the mirror was not seated the way we thought.
Reading an error map without getting lost
An error map looks chaotic the first time you open it, but it separates into two broad groups. The first is figure error, such as power and astigmatism, which affects focal length and sharpness. The second is high-frequency error, such as mid-spatial ripple and roughness, which drives light scatter.
Zernike polynomials are a common way to break figure error into terms with clear optical meaning. Our earlier write-up on interpreting Zernike terms in wavefront maps walks through the practical side if you want more depth. Acceptance criteria depend entirely on the application. A telescope primary and a high-power laser mirror carry very different thresholds, so a single generic spec rarely fits both.
Comparing the methods
Full-aperture interferometry is accurate and quick, but you pay for a large reference. Swing-arm profilometry handles big parts gracefully and gives you curvature, though it leans heavily on arm calibration. Sub-aperture stitching reaches very large apertures at high resolution, and the price is that error can build up across every stitch. Each method earns its place for a different slice of the job, which is exactly why we rarely pick just one.
Cost and turnaround on real projects
A 1 m mirror can often be finished in a few hours with full-aperture testing, provided a suitable reference is already on hand. A 3 to 4 m mirror measured by stitching can stretch into several days, since each patch needs its own alignment and measurement run.
Buying equipment in-house makes sense if you measure regularly. If you only need a measurement a few times a year, outsourcing is usually cheaper. Before deciding, compare the options with our guide to Fizeau versus Twyman-Green interferometers for flatness testing so you pick the instrument that fits your work. For a broader look at how the whole field fits together, our company overview at Arizona Optical Systems is a good starting point.
Frequently asked questions
Can a single interferometer measure a 1 m mirror?
Yes, provided you have a reference large enough and the measurement conditions are stable. At this size, the cost of a full-aperture reference usually decides the approach more than anything else.
Is a swing-arm profilometer accurate enough for high-end optics?
For many applications, yes. High-end mirrors, however, usually need a second method to confirm the result. The key is regular calibration of the arm mechanism, which we treat as non-negotiable.
Does sub-aperture stitching lose information in the overlap regions?
No information is lost, but the overlap regions are needed for cross-checking, so they cannot be too small. If they are, the stitching algorithm simply does not have enough data to work with.
How do I know which method suits my mirror?
Start with the mirror size and your flatness requirement. A moderate-sized part usually works well with full-aperture testing. A large mirror that also needs fine detail is better served by combining methods, as described above.
Can a small shop measure in-house, or should it rent a lab?
It can, if it controls vibration and temperature well and has someone experienced in aligning interferometers. Without those conditions, a lab with a stable environment will give you more trustworthy results.