
Optical Alignment of Space Telescopes: Lessons From Our Cleanroom
Discover how optical alignment of space telescopes works in practice, from autocollimation and laser trackers to gravity offload and wavefront checks, shared by our team.
9 min read
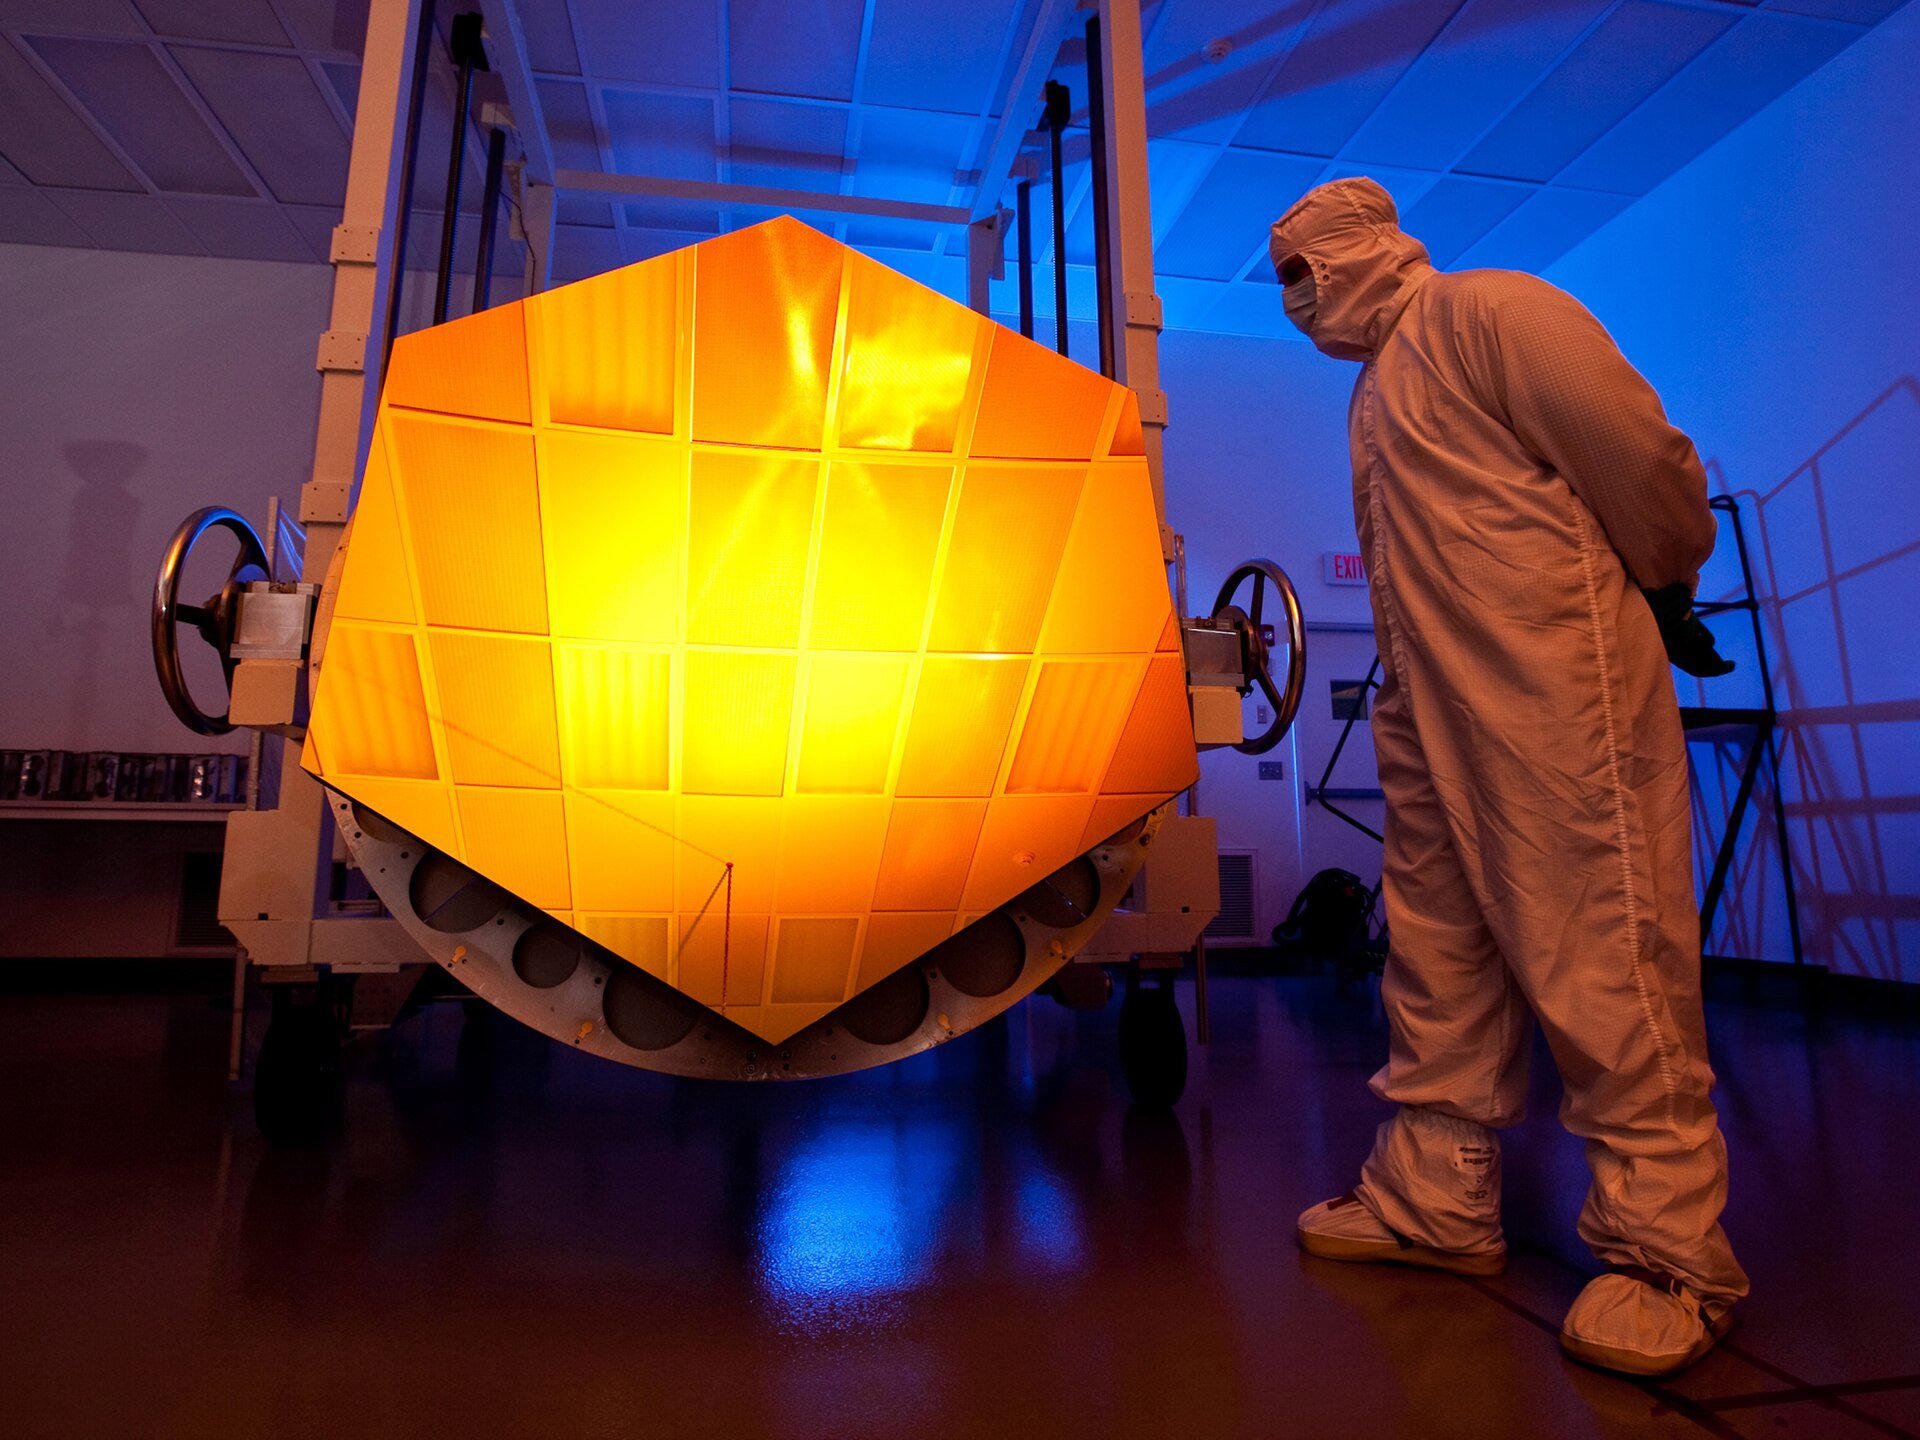
Once a space telescope leaves the ground, nobody can climb up there and nudge a mirror back into place. That single fact shapes how we work every day. In our cleanroom, optical alignment of space telescopes is treated as a job that must be finished long before launch day. We have spent years on those floors, and the first thing we tell every new engineer is simple: a mirror sitting a few arcseconds off on the bench will still be off in orbit. Software can soften some errors afterward, but it cannot hide a glass element that was seated in the wrong place.
The Short Version: How Mirrors Get Positioned
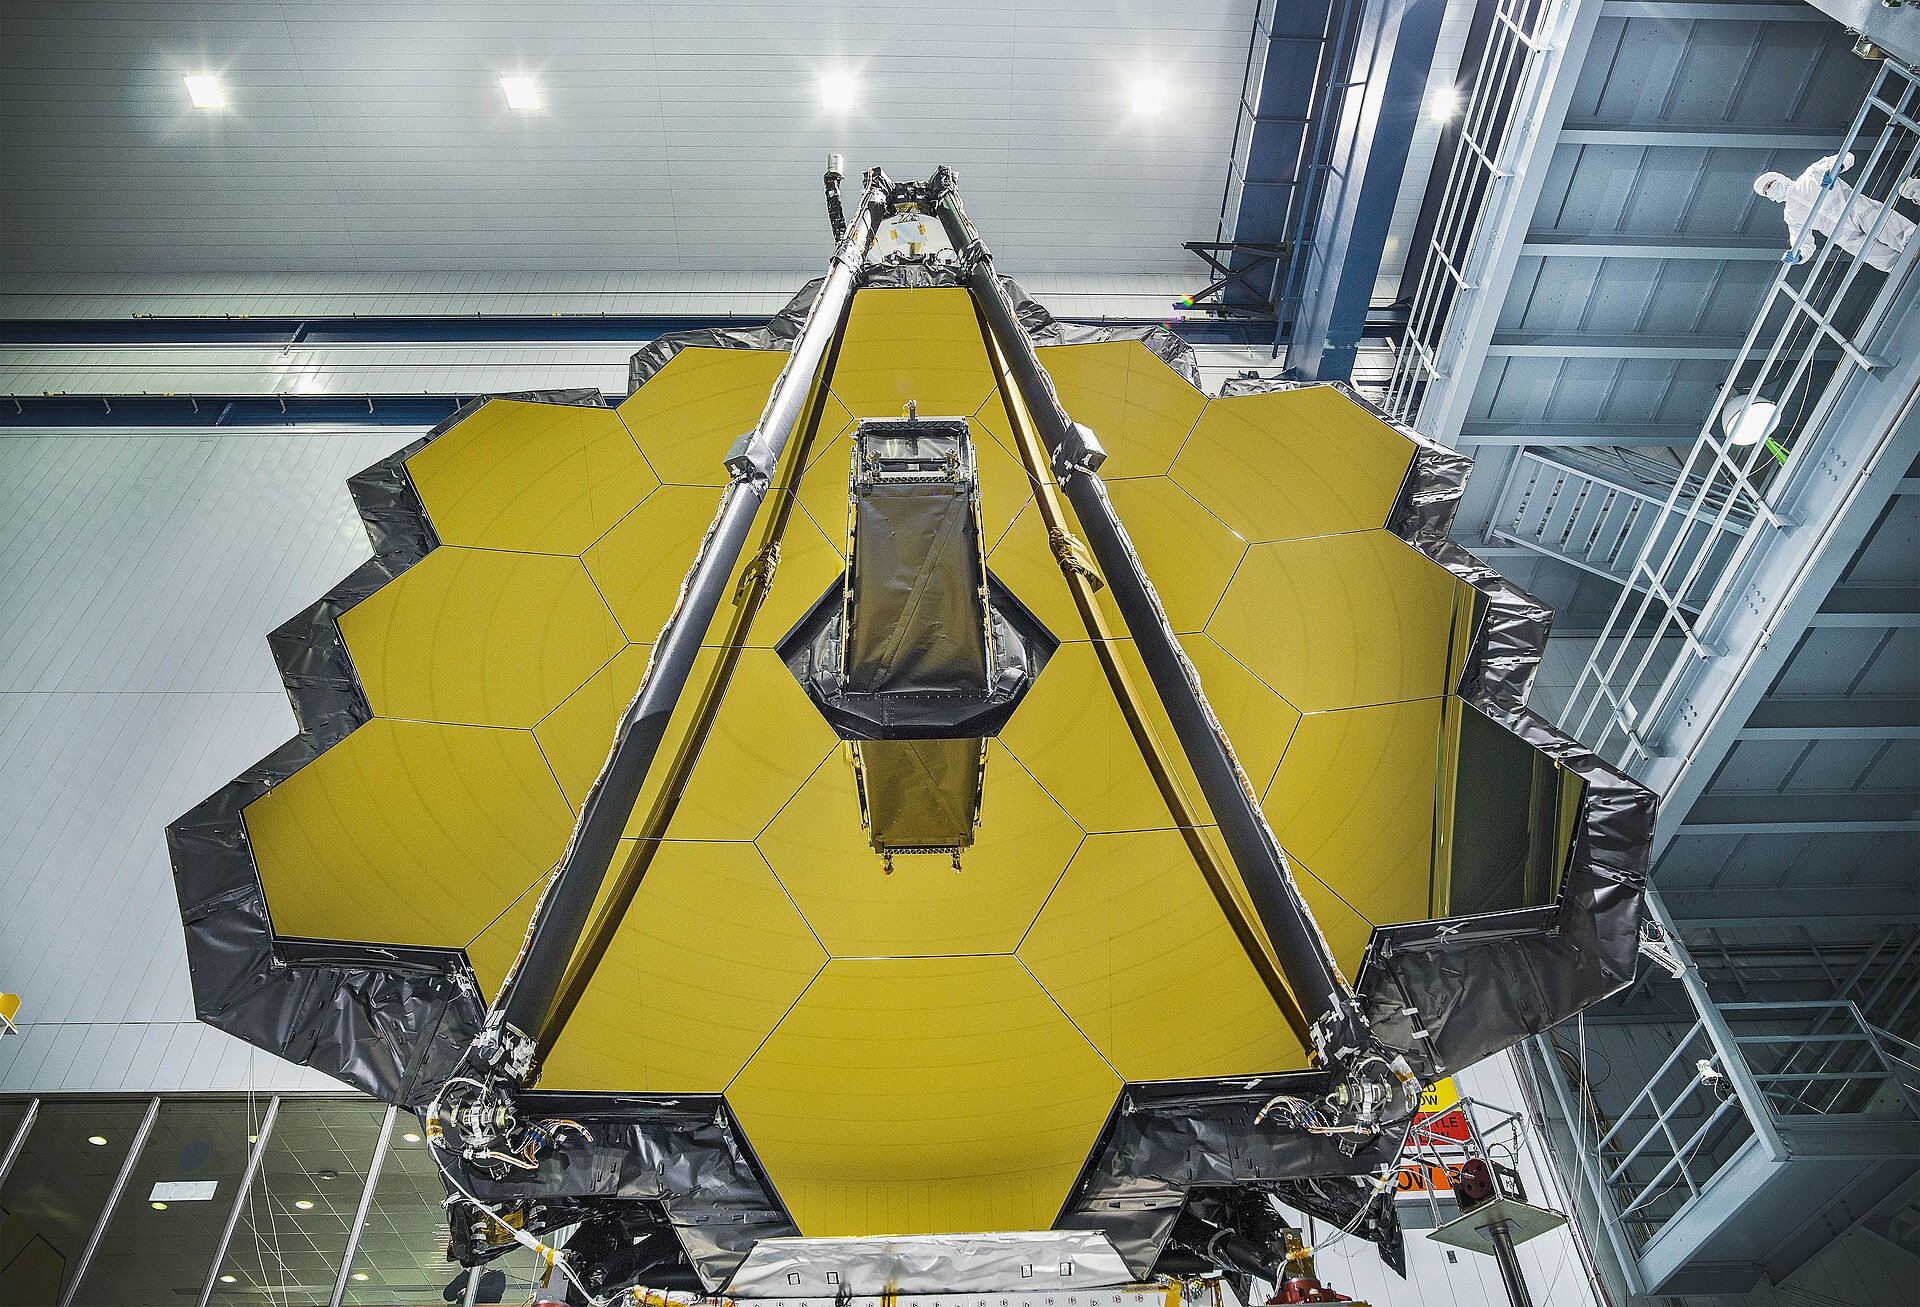
Alignment is a loop, not a single step. We use autocollimation, laser trackers and reference targets to seat each mirror. Then we measure everything again after vibration testing, because the first pass almost never holds. The goal is a wavefront error budget measured in nanometers, verified under conditions that imitate the orbital environment as closely as we can manage on the ground.
In practice that means you align, measure, correct and re-test. You keep repeating the cycle until the numbers close. Only then do you move on to the next integration stage. Teams that rush this loop tend to pay for it later, usually at the worst possible moment.
Why the Last Few Microns Decide Everything
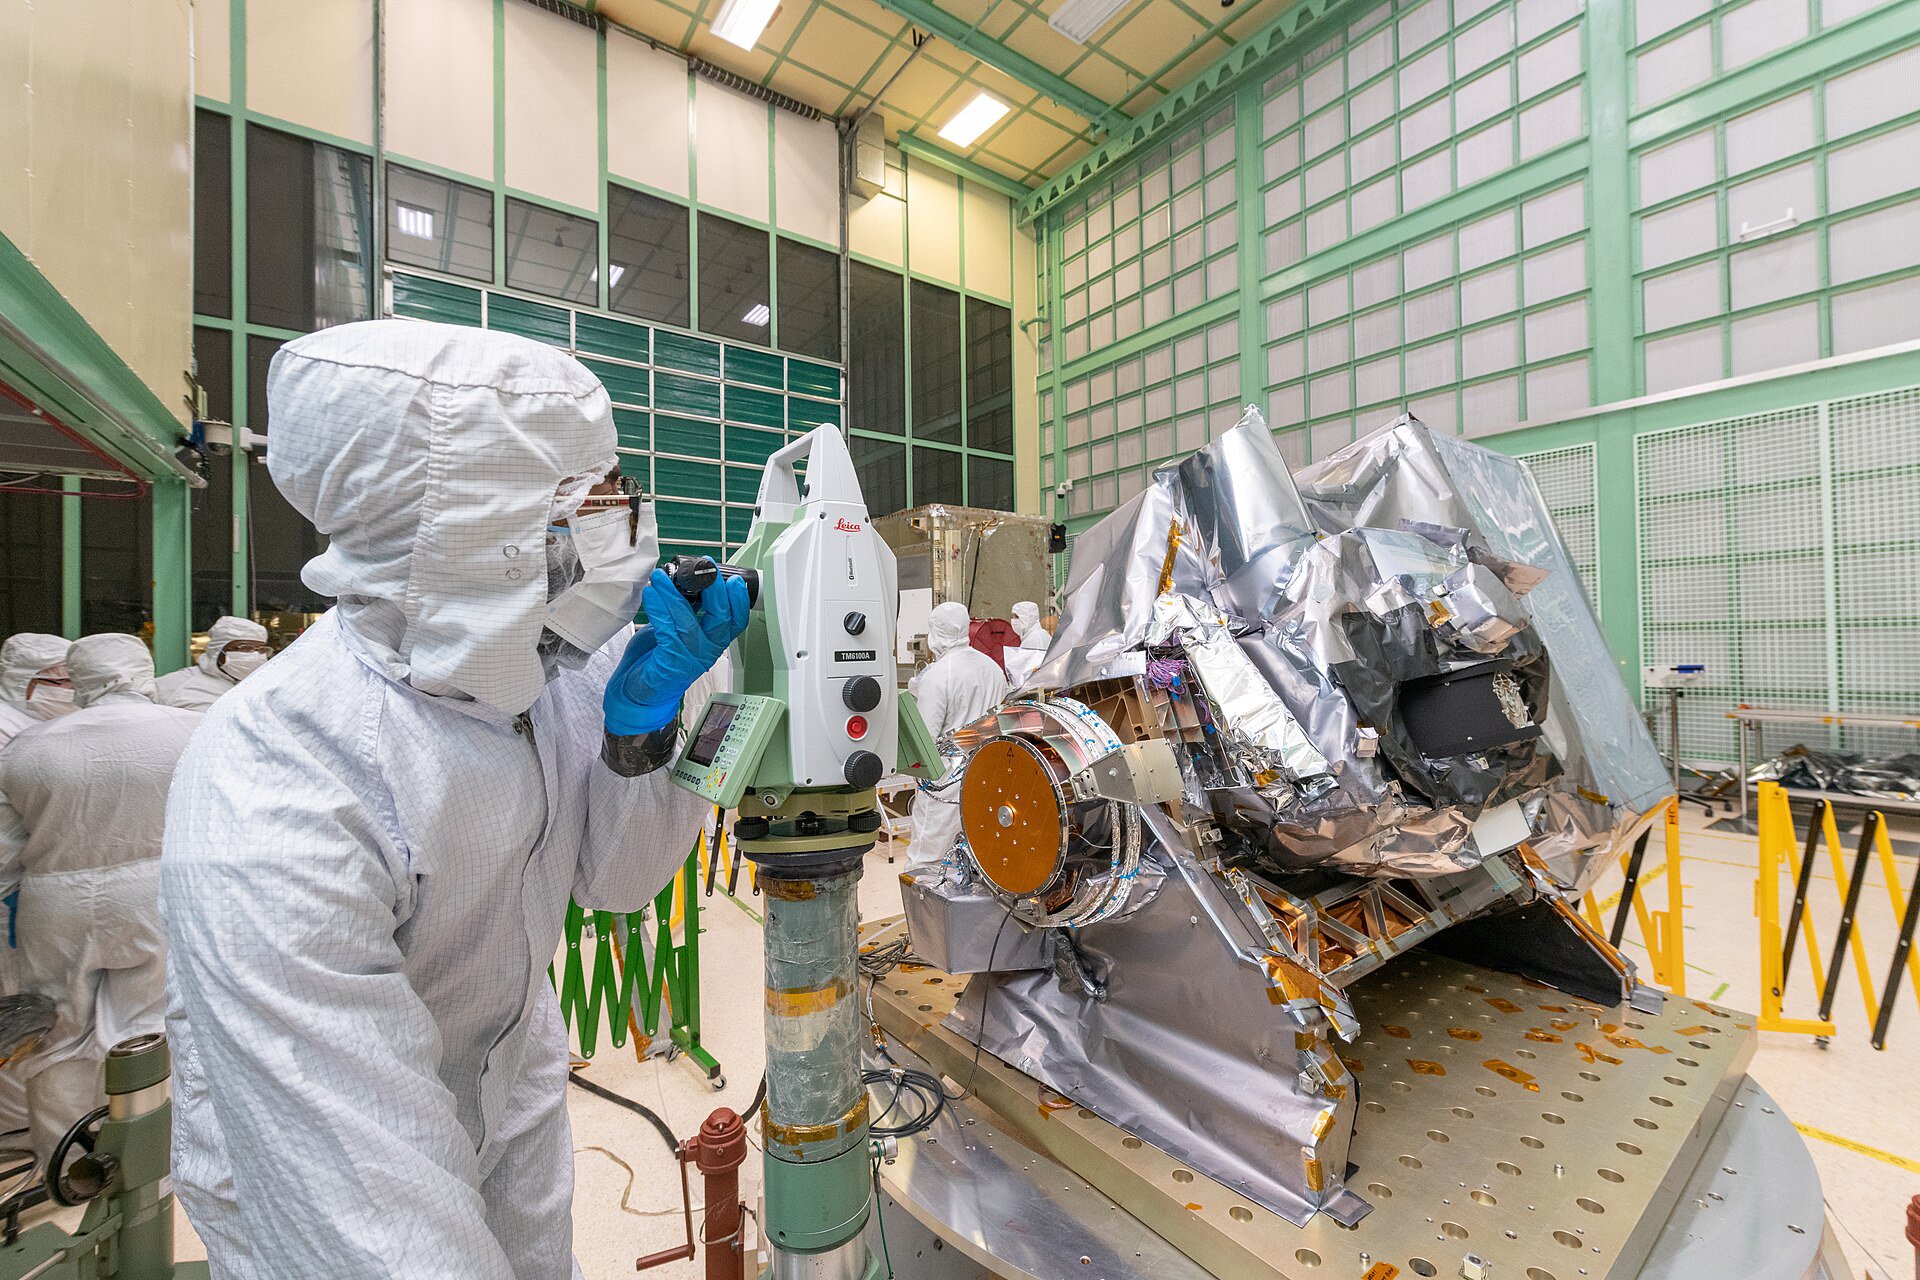
A telescope is really a chain of mirrors, and each one can drift in six ways: three translations and three rotations. A tilt of only a few arcseconds on the primary can push the image outside specification, even when the glass itself is flawless. We call a sideways slide a decenter and a rotation a tilt. Both degrade image quality in ways that are very hard to undo once the hardware is sealed inside the spacecraft.
Gravity makes things harder. A large structure sags under its own weight on Earth, yet it floats free in orbit. A setup that looks perfect on the bench can behave differently once the telescope is weightless, so our ground team has to predict that sag and fold it into the budget. Launch adds another threat. The rocket shakes the whole stack, and optics can move during that ride.
Fixing the Reference Frame First

Before any glass goes into a mount, we define the optical axis and the mechanical datums. Think of it as drawing the map before you walk the terrain. We bond fiducial targets, cube corners and reference spheres to the structure, so every later measurement traces back to one common origin. Without that frame, the numbers from one day cannot be compared with the numbers from the next.
The mistake we see most often is a datum that quietly drifts between integration steps. One team measures from a sphere, the next team remounts it a fraction off, and suddenly the readings stop agreeing. Keep one documented frame, and never let two people work from different ones without anyone noticing.
Measuring Tilt With Light
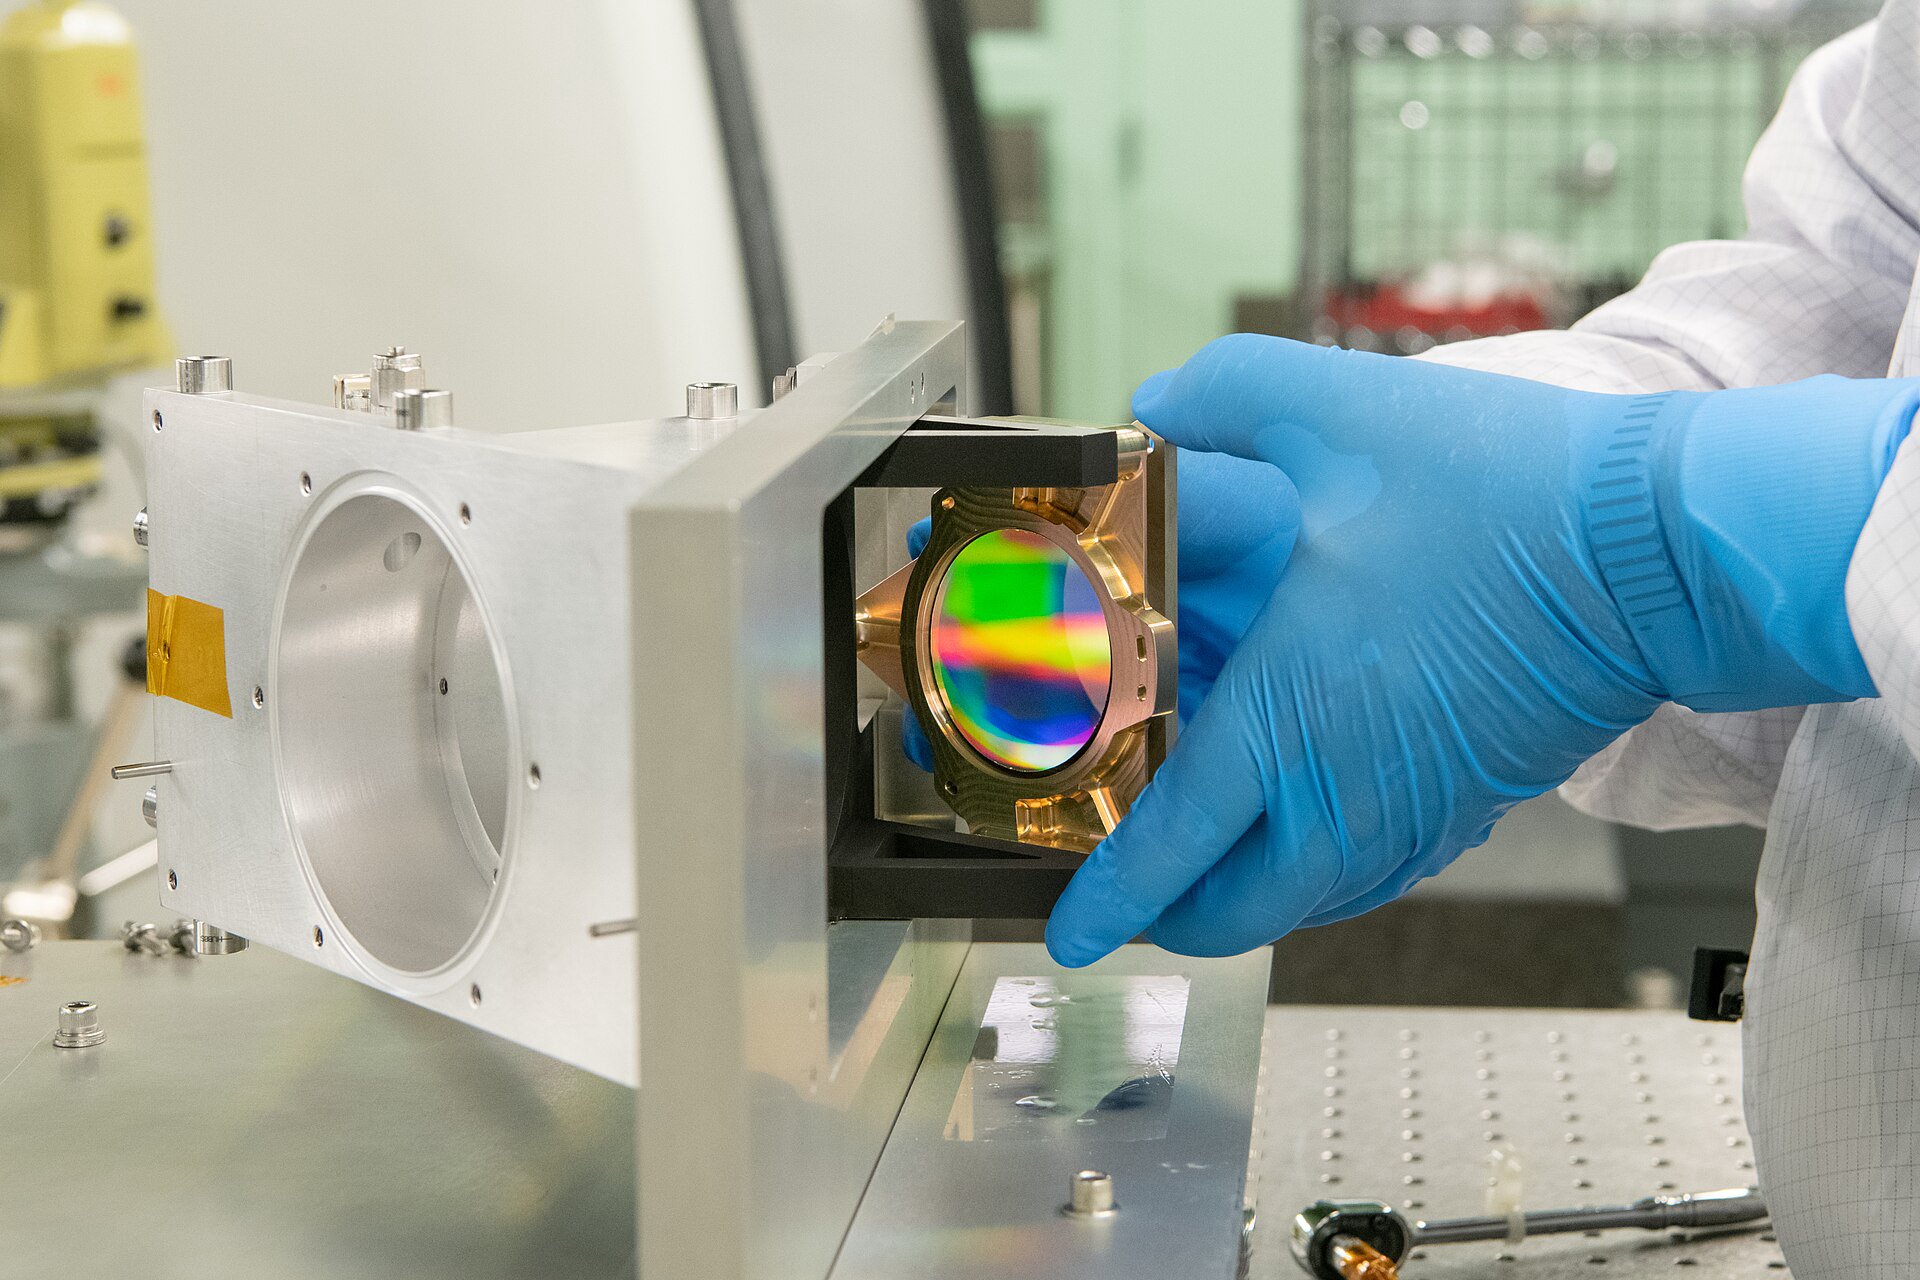
Autocollimation sounds technical, but the idea is simple. You send a beam at a flat mirror, and the beam bounces straight back. If the mirror tilts, the returning beam shifts. The autocollimator reads that small shift and converts it into an angle, sometimes down to a fraction of an arcsecond. We rely on it constantly, because it tells us within minutes whether a mirror is leaning the wrong way.
Inside a deep barrel the light often cannot reach the mirror directly. We route the beam with folding flats and alignment cubes to reach hidden surfaces. The catch is the air. Warm air rising from a hand or a heater bends the beam, and the reading wanders. We keep the path short, shield it from drafts, and let the room settle thermally before trusting any single number.
Where Laser Trackers Earn Their Keep
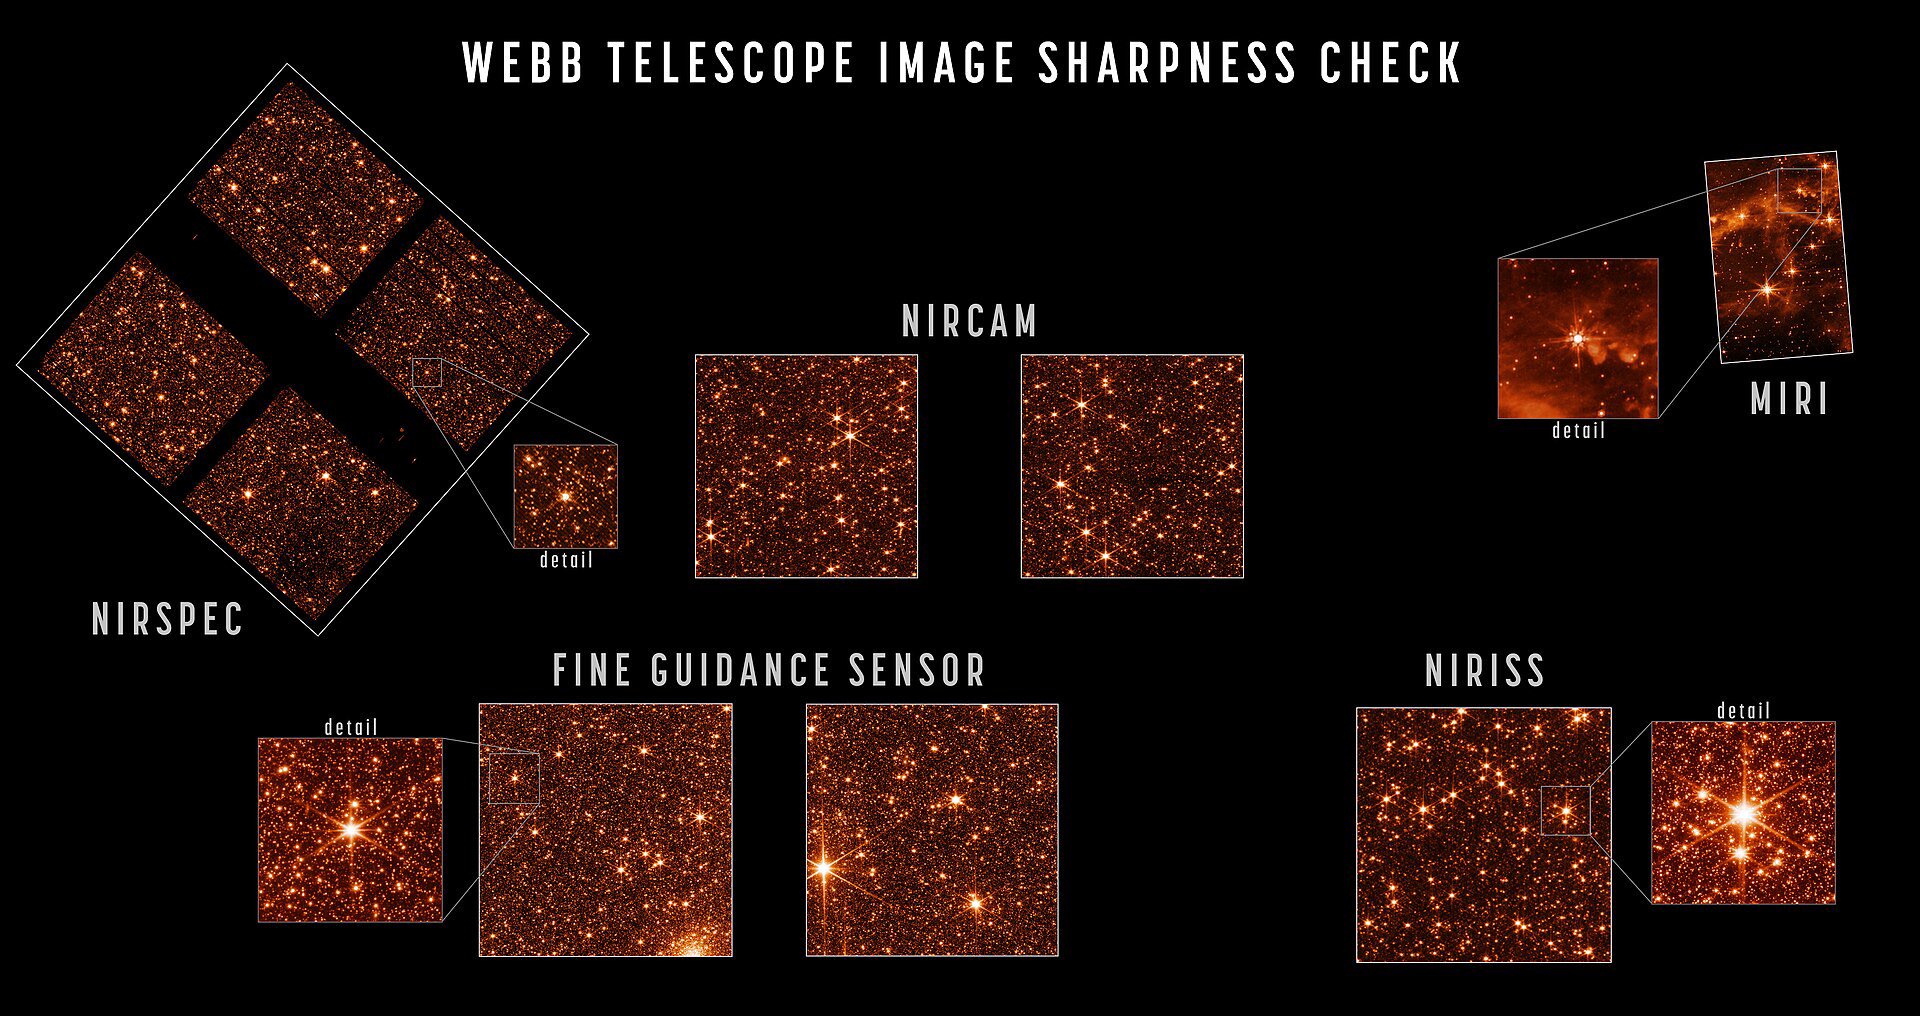
Autocollimation handles angles well, but a large telescope needs positions across a big volume. That is where a laser tracker proves its value. It follows a retroreflector and reports the 3D position of a point, which lets us place mirrors relative to the structure within tens of microns. Small choices in target placement change the result a lot. We walk through those details in our guide to laser trackers and large-volume metrology.
A tracker works best when you build a network of targets across the whole barrel. One target gives you a point, while many targets give you a frame you can trust. For very small, local checks, a coordinate measuring machine can be faster and just as honest. We pick the tool that fits the job, not the other way around.
Gravity Offload Makes the Ground Behave Like Orbit
This part surprises people outside the field. You cannot align a telescope lying on its side and call it finished, because gravity pulls the mirrors out of place. We use support fixtures, counterbalance systems and gravity-offload rigs to hold the structure as though it were floating. Then we estimate the residual sag and feed that number back into the alignment budget.
Skipping this step is a classic trap. The telescope passes every test on the bench, then drifts in orbit, and the team spends months chasing a problem that was built into the setup from day one. We learned that lesson the slow way on an early project, and we never repeat it now.
Proving the System Meets Its Wavefront Budget
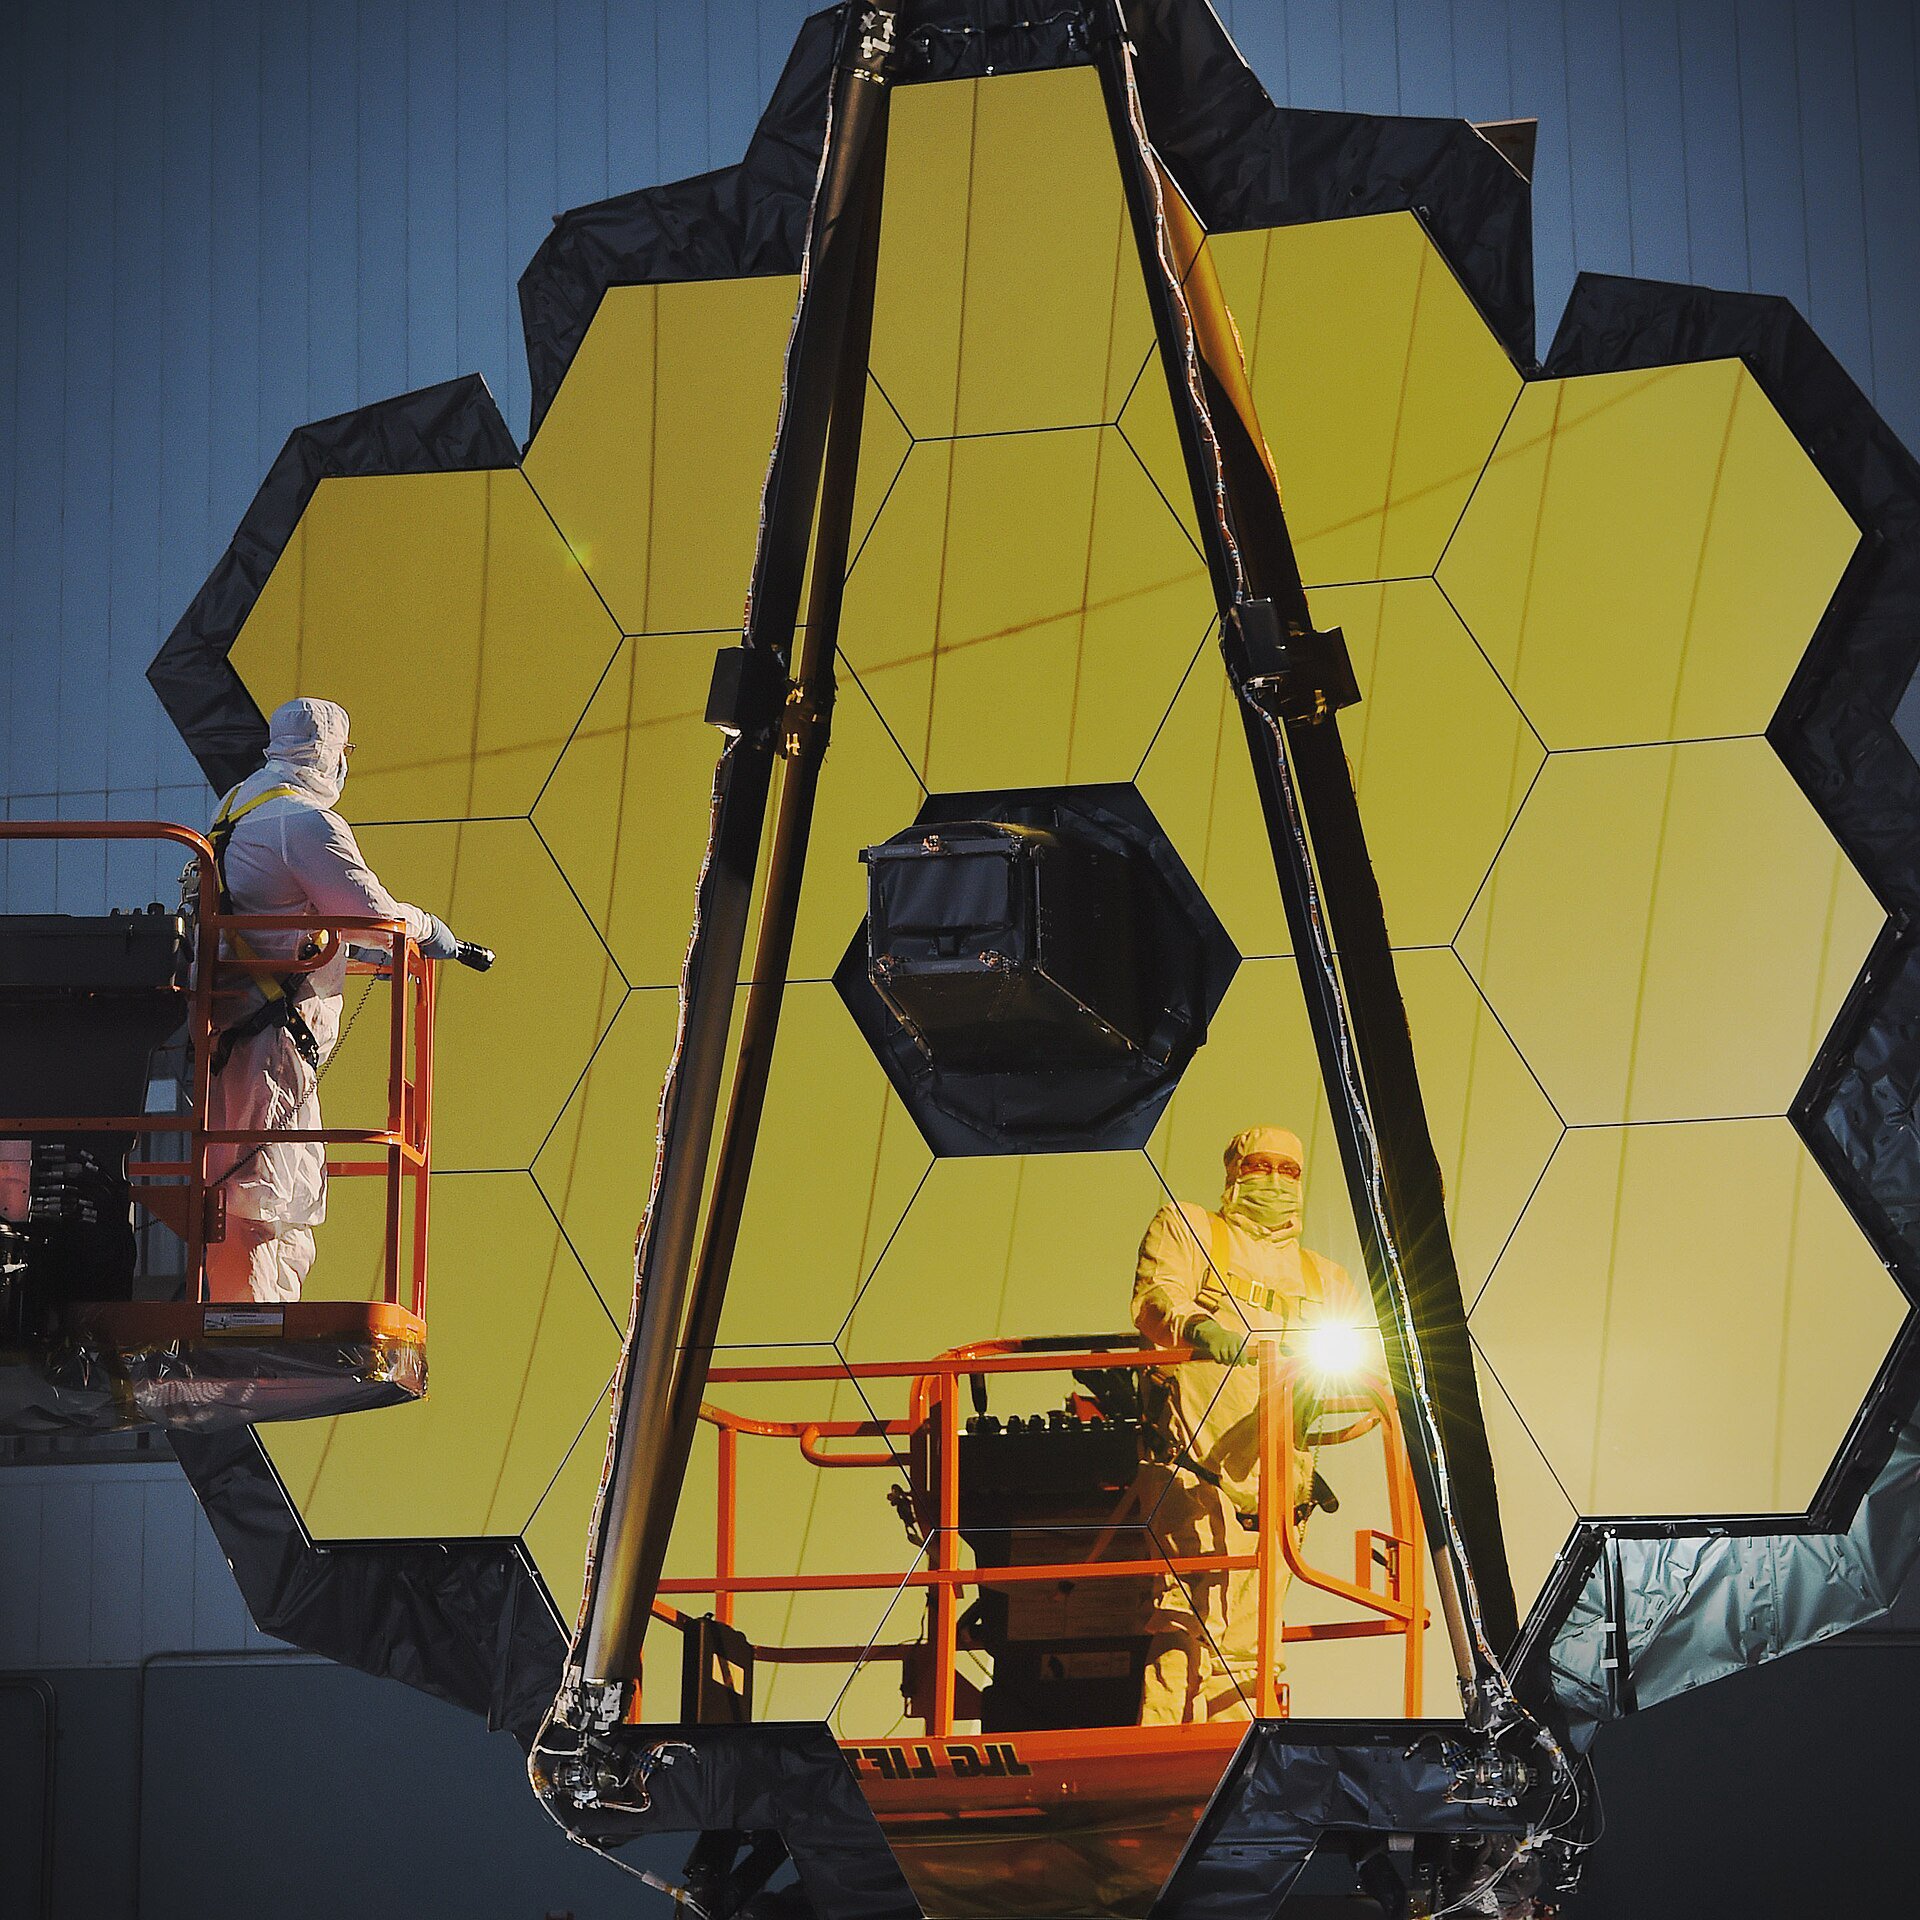
Alignment is only a means to an end. The real question is whether the assembled system meets its wavefront error budget, and interferometers answer that. A null test compares the measured wavefront against a perfect reference, so any leftover error stands out clearly on the screen.
We also compare ground numbers against modeled performance. When they disagree, we do not assume the model is wrong. The mismatch usually points to one specific mirror, and the job becomes finding which one is responsible. That detective work is slow and tedious, but it is exactly the part that protects a mission.
Shaking the System and Checking It Again
Mirrors can move during a launch simulation, even when they were perfect beforehand. Verification has to run again against the same references. If the numbers change after shaking, you are likely looking at a permanent decenter or tilt. You then face a choice: re-align on the ground, or accept the residual error and plan around it.
Our rule of thumb is to re-align whenever the error threatens the top-level science requirement. Accepting an error is sometimes the right call, but only when someone has written down exactly why it is acceptable.
A Real Workflow: Fixing a Segment That Drifted
Picture a segmented mirror where one segment moved during mounting. The team first confirms the drift with the tracker, then uses autocollimation to pin down the tilt. They correct the segment, re-measure, and check the wavefront again. Each loop costs measurement time, and that time costs schedule and budget.
Not every drift deserves a full campaign. Some errors are small enough to correct later with on-orbit adjustments, a topic we cover in our piece on on-orbit wavefront sensing for segmented mirrors.
What Alignment Campaigns Really Cost
Costs swing widely from project to project, so treat any figures as rough guides rather than quotes. Tooling for a serious metrology setup can run from tens of thousands to several hundred thousand dollars, and a laser tracker is often rented rather than bought. Integration days add up fast, because every re-measure is a full day of careful work.
Autocollimation is quick to set up and works best for mirror tilt checks, where sub-arcsecond angles matter. A laser tracker needs a longer setup and a full target network, yet it is the method that positions optics across the whole barrel. Photogrammetry covers wide areas well for structural cross-checks, while CMM-based checks deliver very high accuracy on small fixtures and parts.
Frequently Asked Questions
How accurate does optical alignment need to be for a space telescope?
It depends on the wavelength and the science goal, but the wavefront error budget is usually measured in nanometers. Alignment has to keep individual mirror errors small enough that their combined total stays inside that budget. Getting there typically takes several iterations rather than one clean pass.
Do I need a laser tracker, or can autocollimation alone do the job?
Autocollimation handles angles well, but it does not give you positions across a large volume. For a telescope barrel you usually need both methods. For a small, local optical bench, autocollimation may be enough on its own.
How often should alignment be re-verified during integration?
Re-verify after every major step that can move the optics, such as a mounting change, a thermal cycle or a vibration test. Waiting until the end hides problems that are far harder to trace back to their source.
Why does gravity matter for ground alignment if the telescope flies in microgravity?
You align it on Earth, where gravity pulls the structure out of shape. Gravity-offload rigs and sag estimates let you approximate the orbital condition. Without them, you would be aligning a shape the telescope never takes in space.
What happens if a mirror shifts after vibration testing?
You measure again using the same references. If the shift is permanent, you decide whether to re-align on the ground or accept the residual error. That decision should be documented, with the reasoning written down clearly.
If you take one thing from this, let it be this: plan your references first, keep them consistent, and assume every step can move the glass. Start with a clear frame and a measurement plan, and the rest of the campaign becomes far less painful. For more on how the wider monapay.vn team approaches precision work, you are welcome to explore their resources as well.